Web Interface
Mailer’s web interface is used to manage SMTP configurations and email templates, and to view the email log.
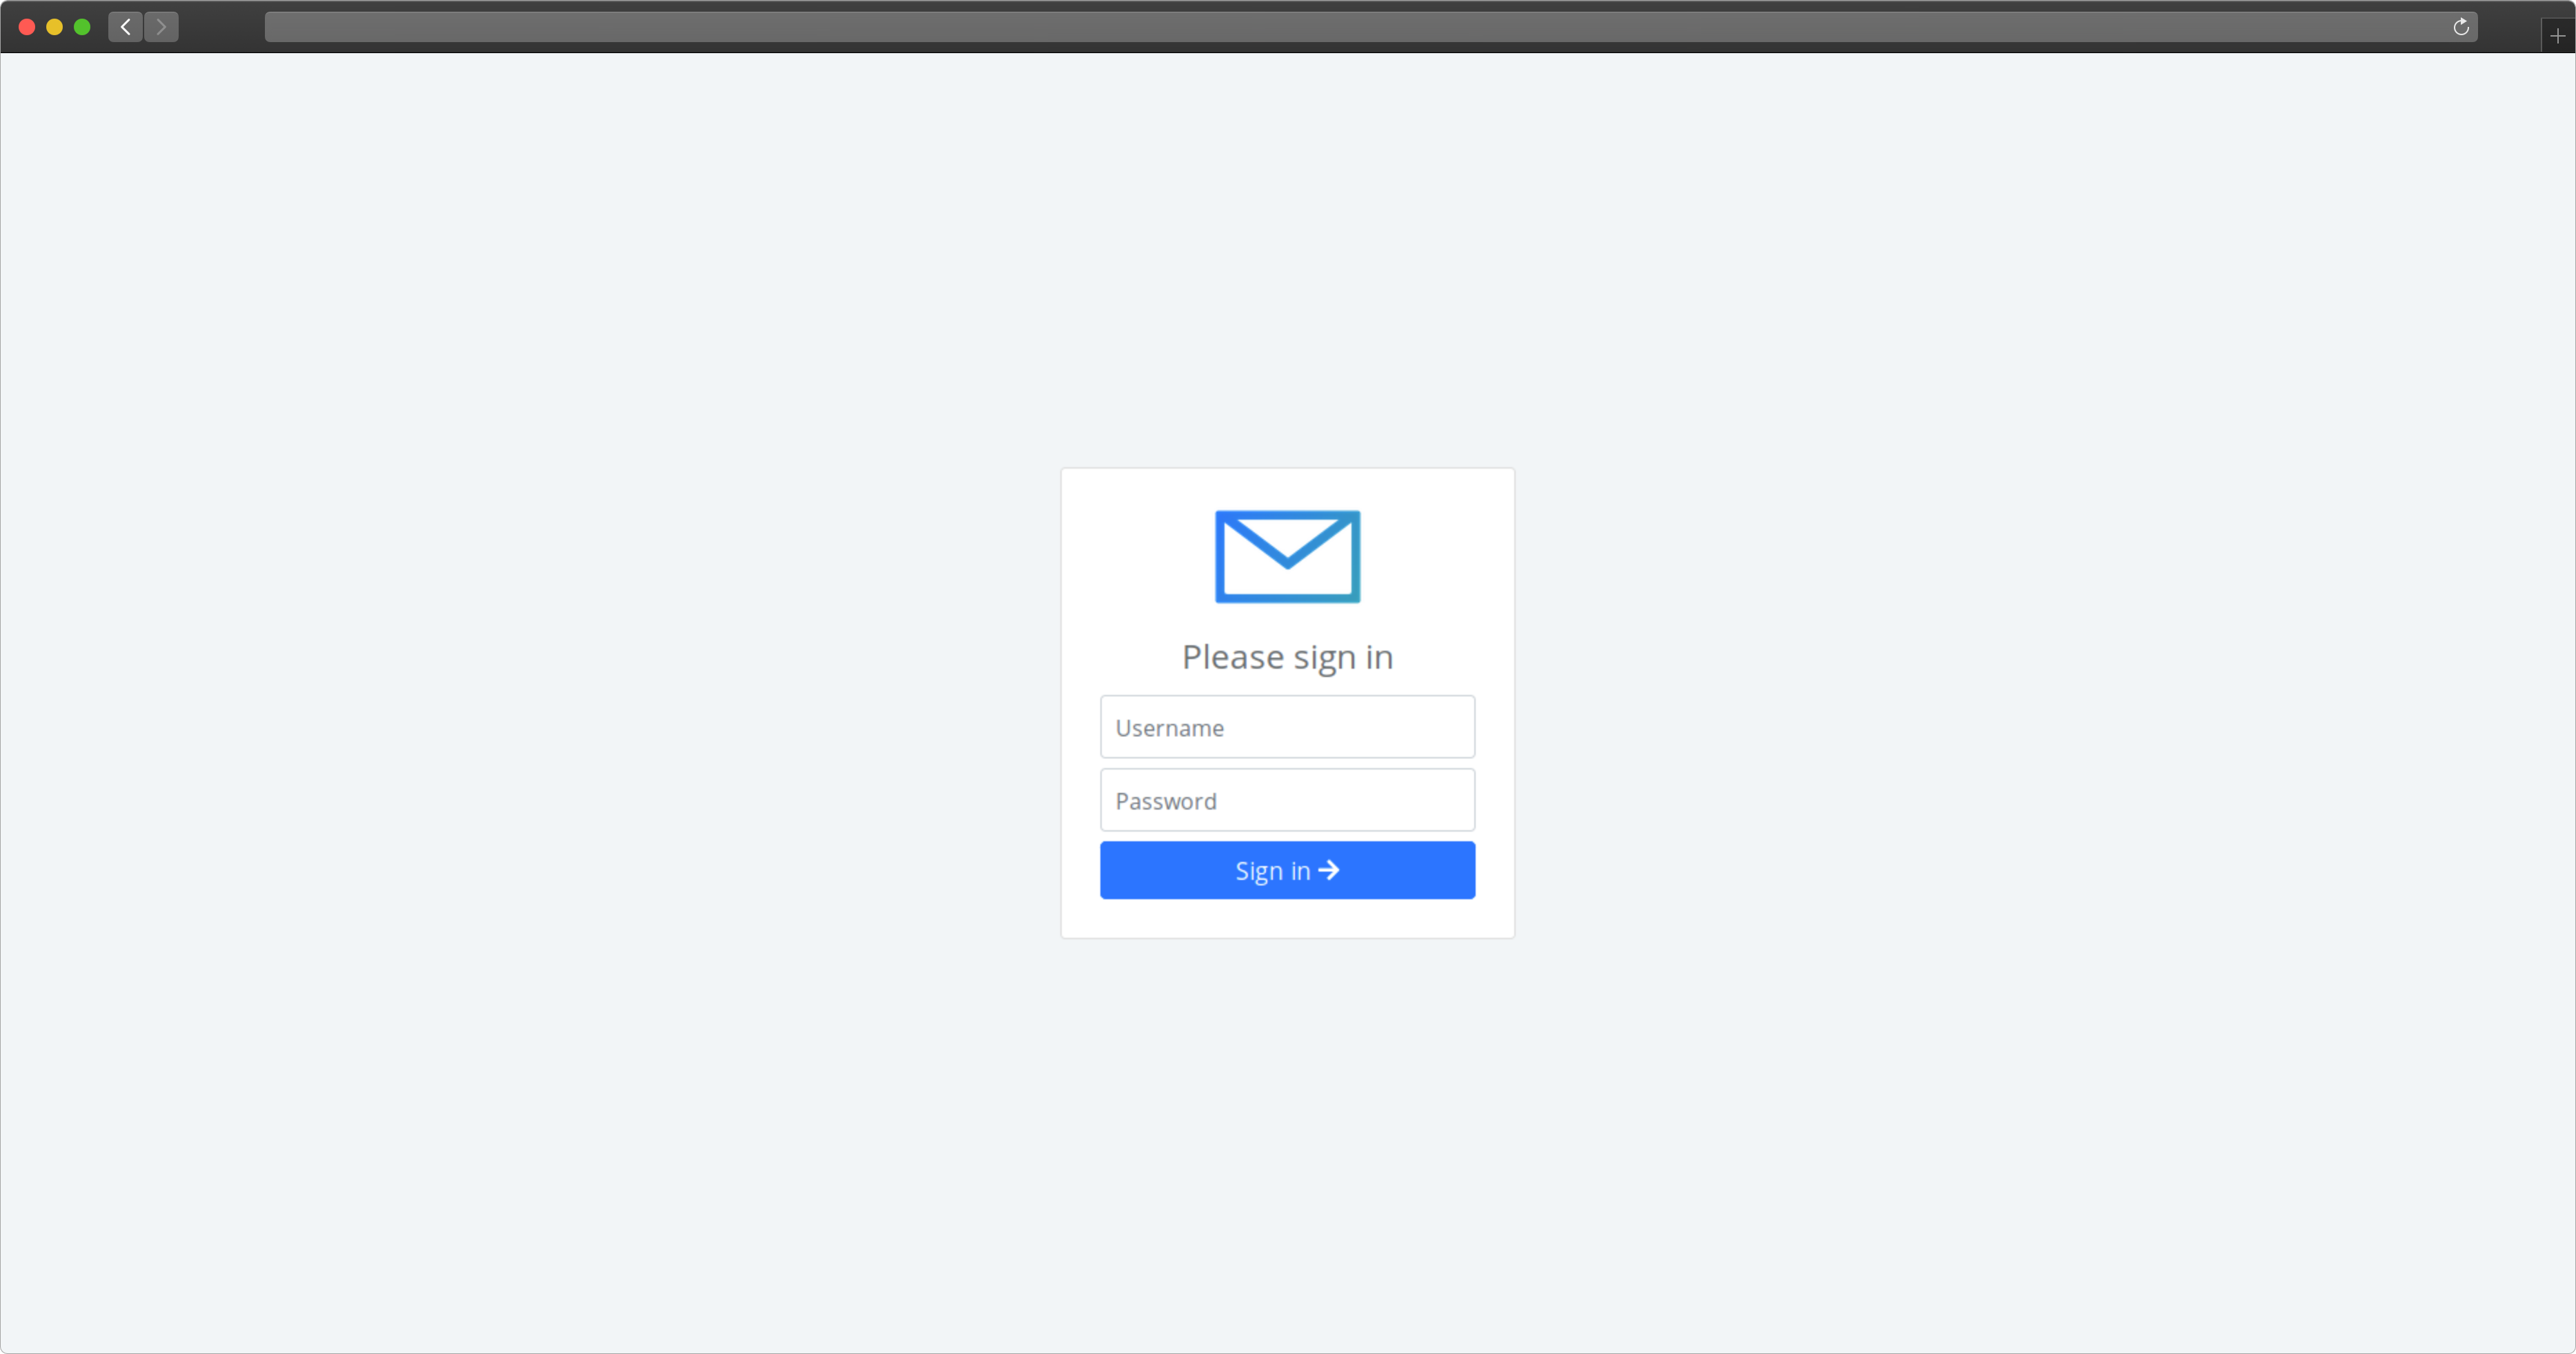
Login
This is the first page you will see when you open Mailer in your web browser.
Email Log
The email log shows all of the emails that were sent (or returned an error), starting with the most recent. The list will load more rows as you scroll. There is currently no way to filter or sort the list, but that functionality is planned for a future update.
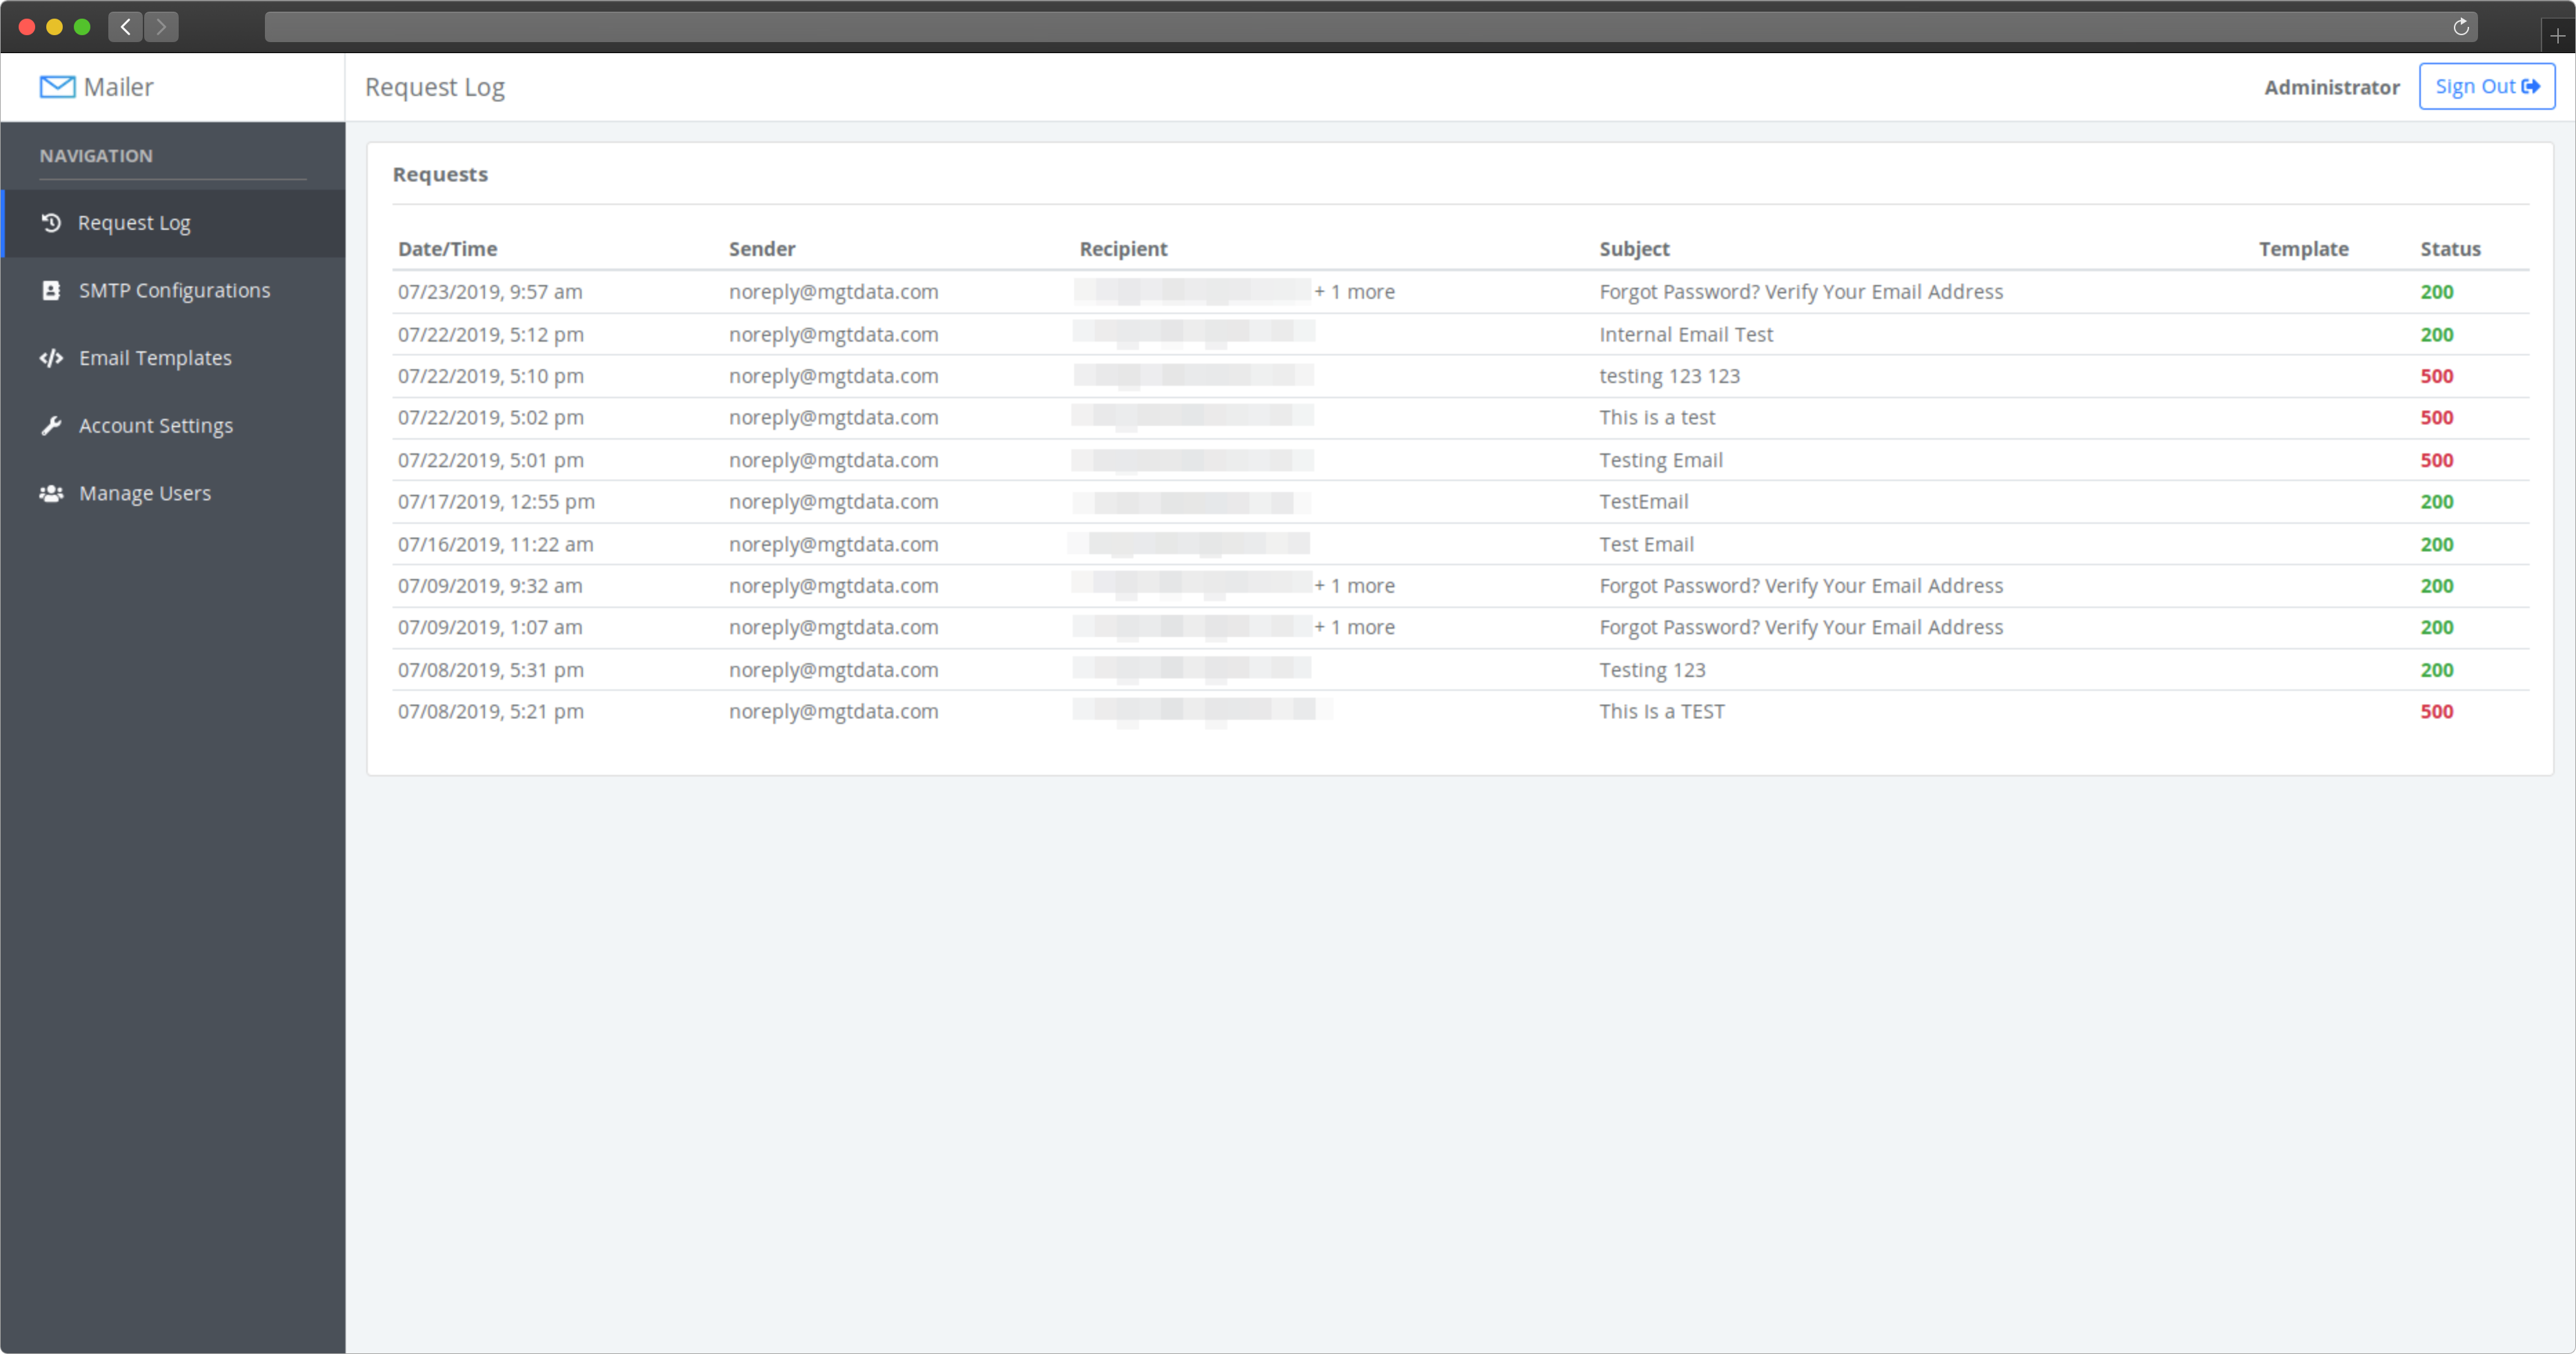
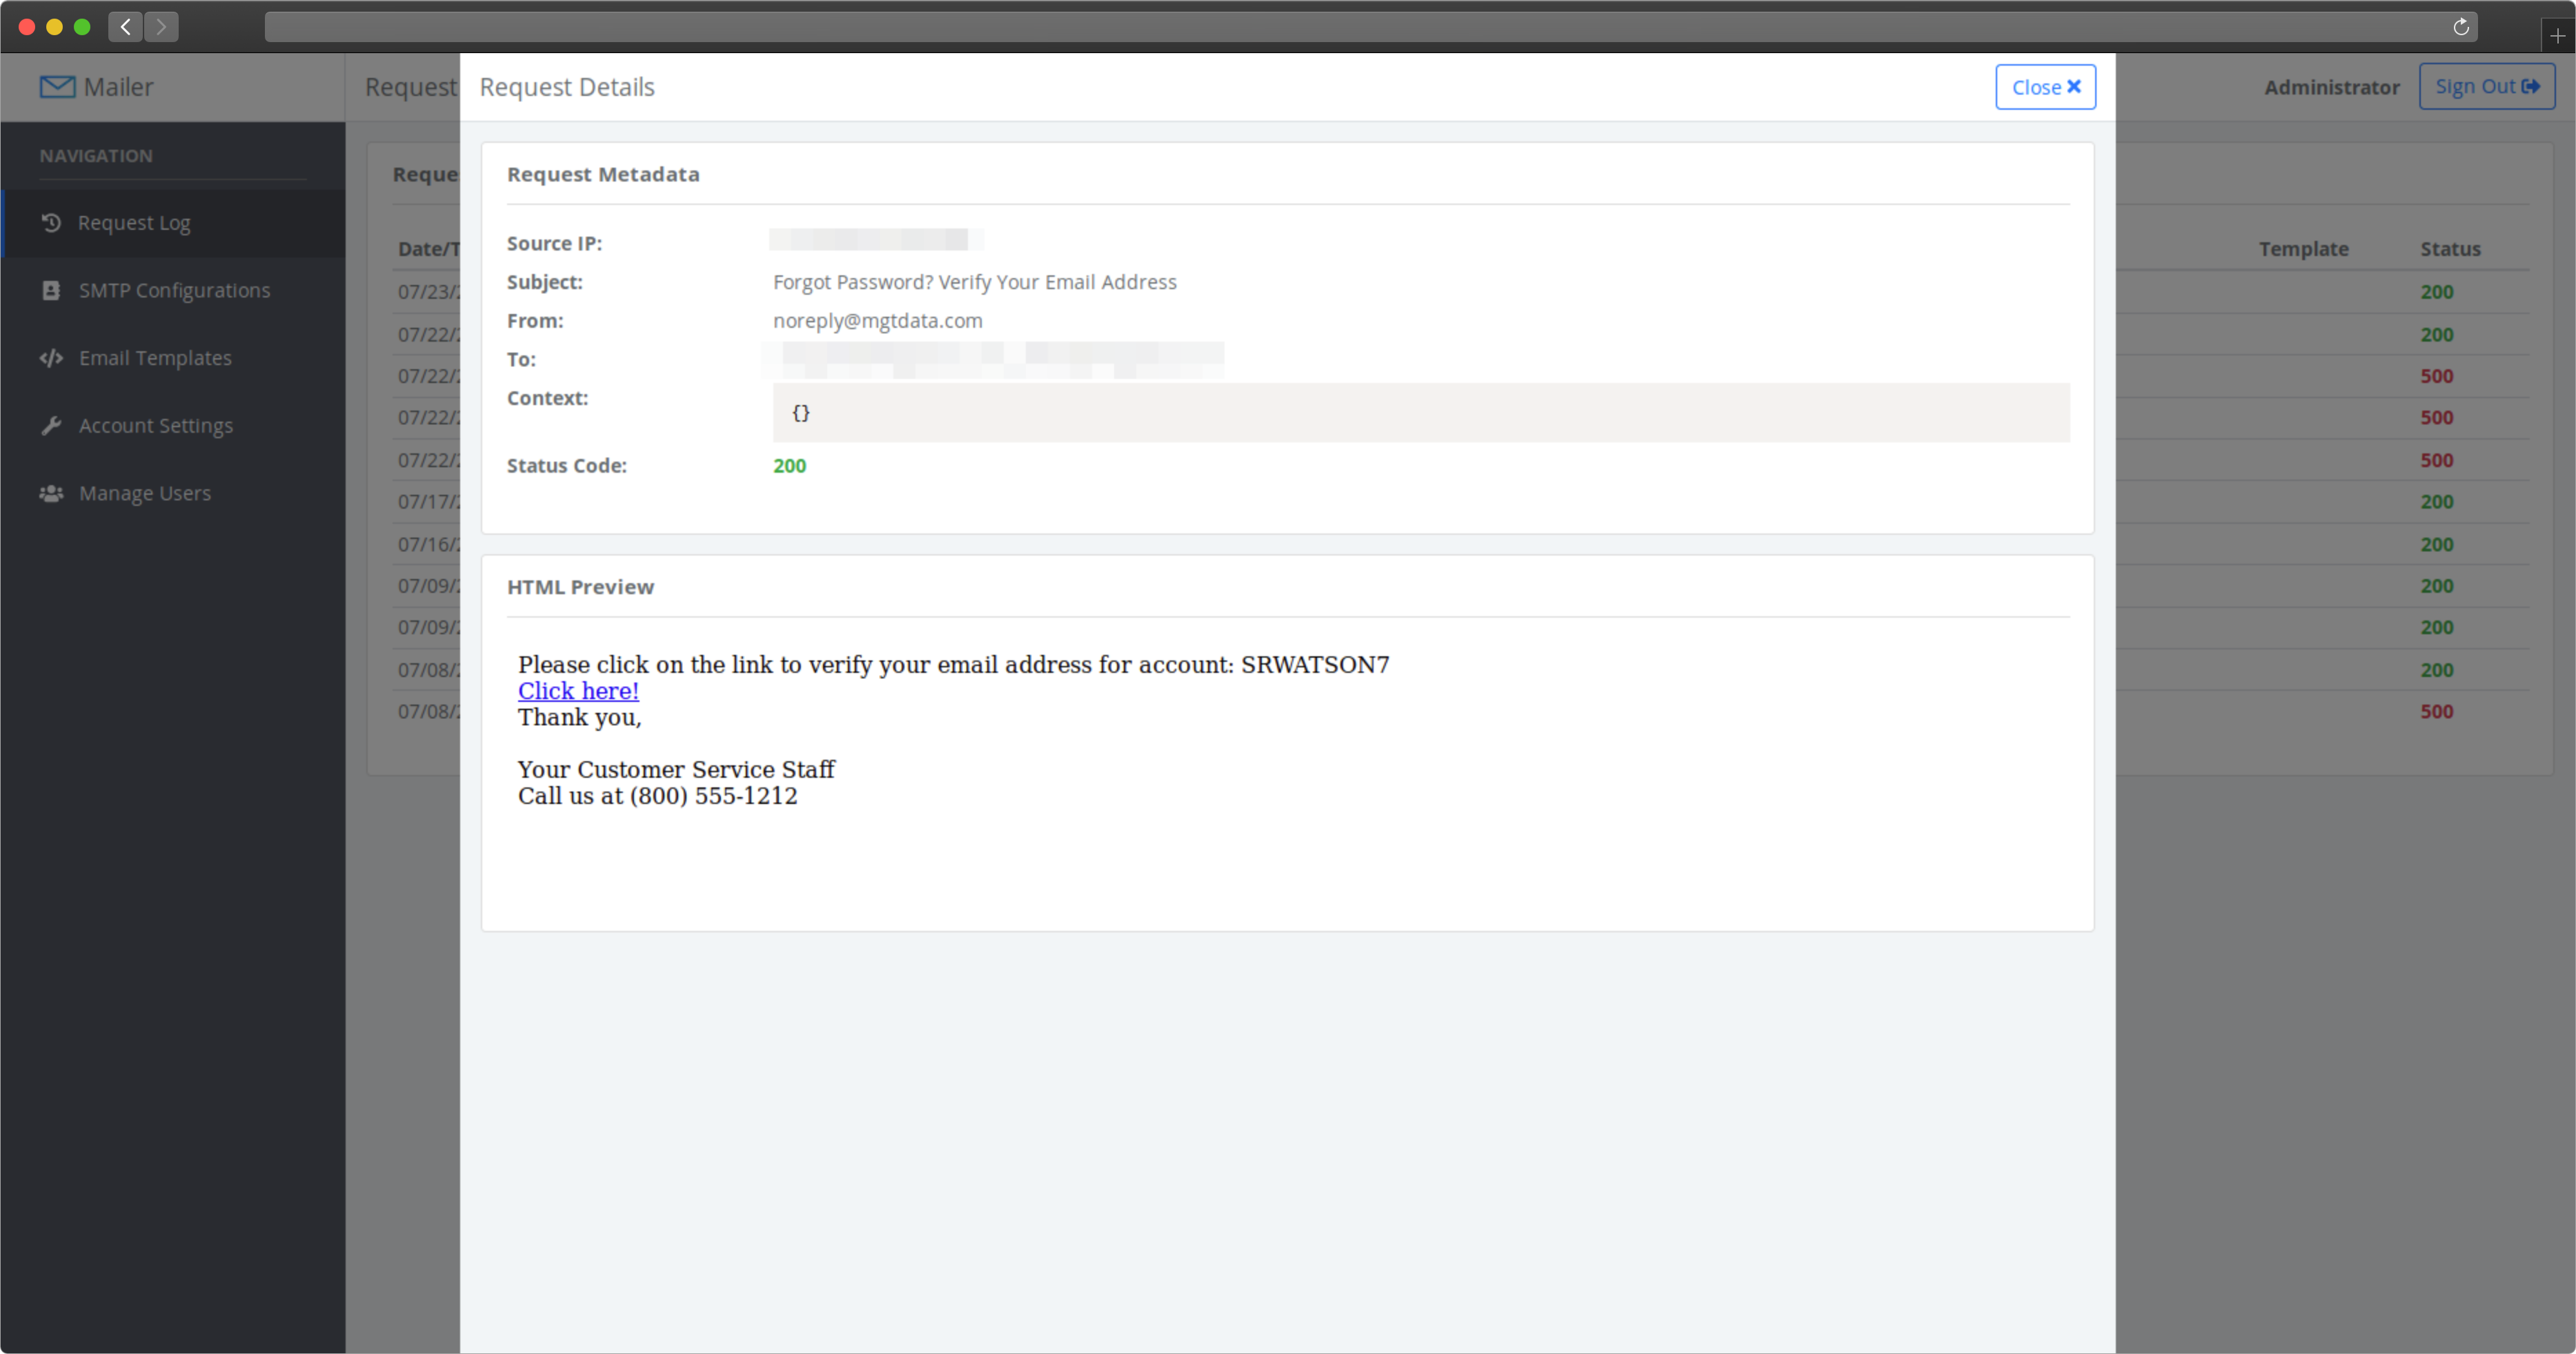
To view more information about an email, like source IP address, body content, or error messages, click on any row in the table to bring up the details of that row.
SMTP Configurations
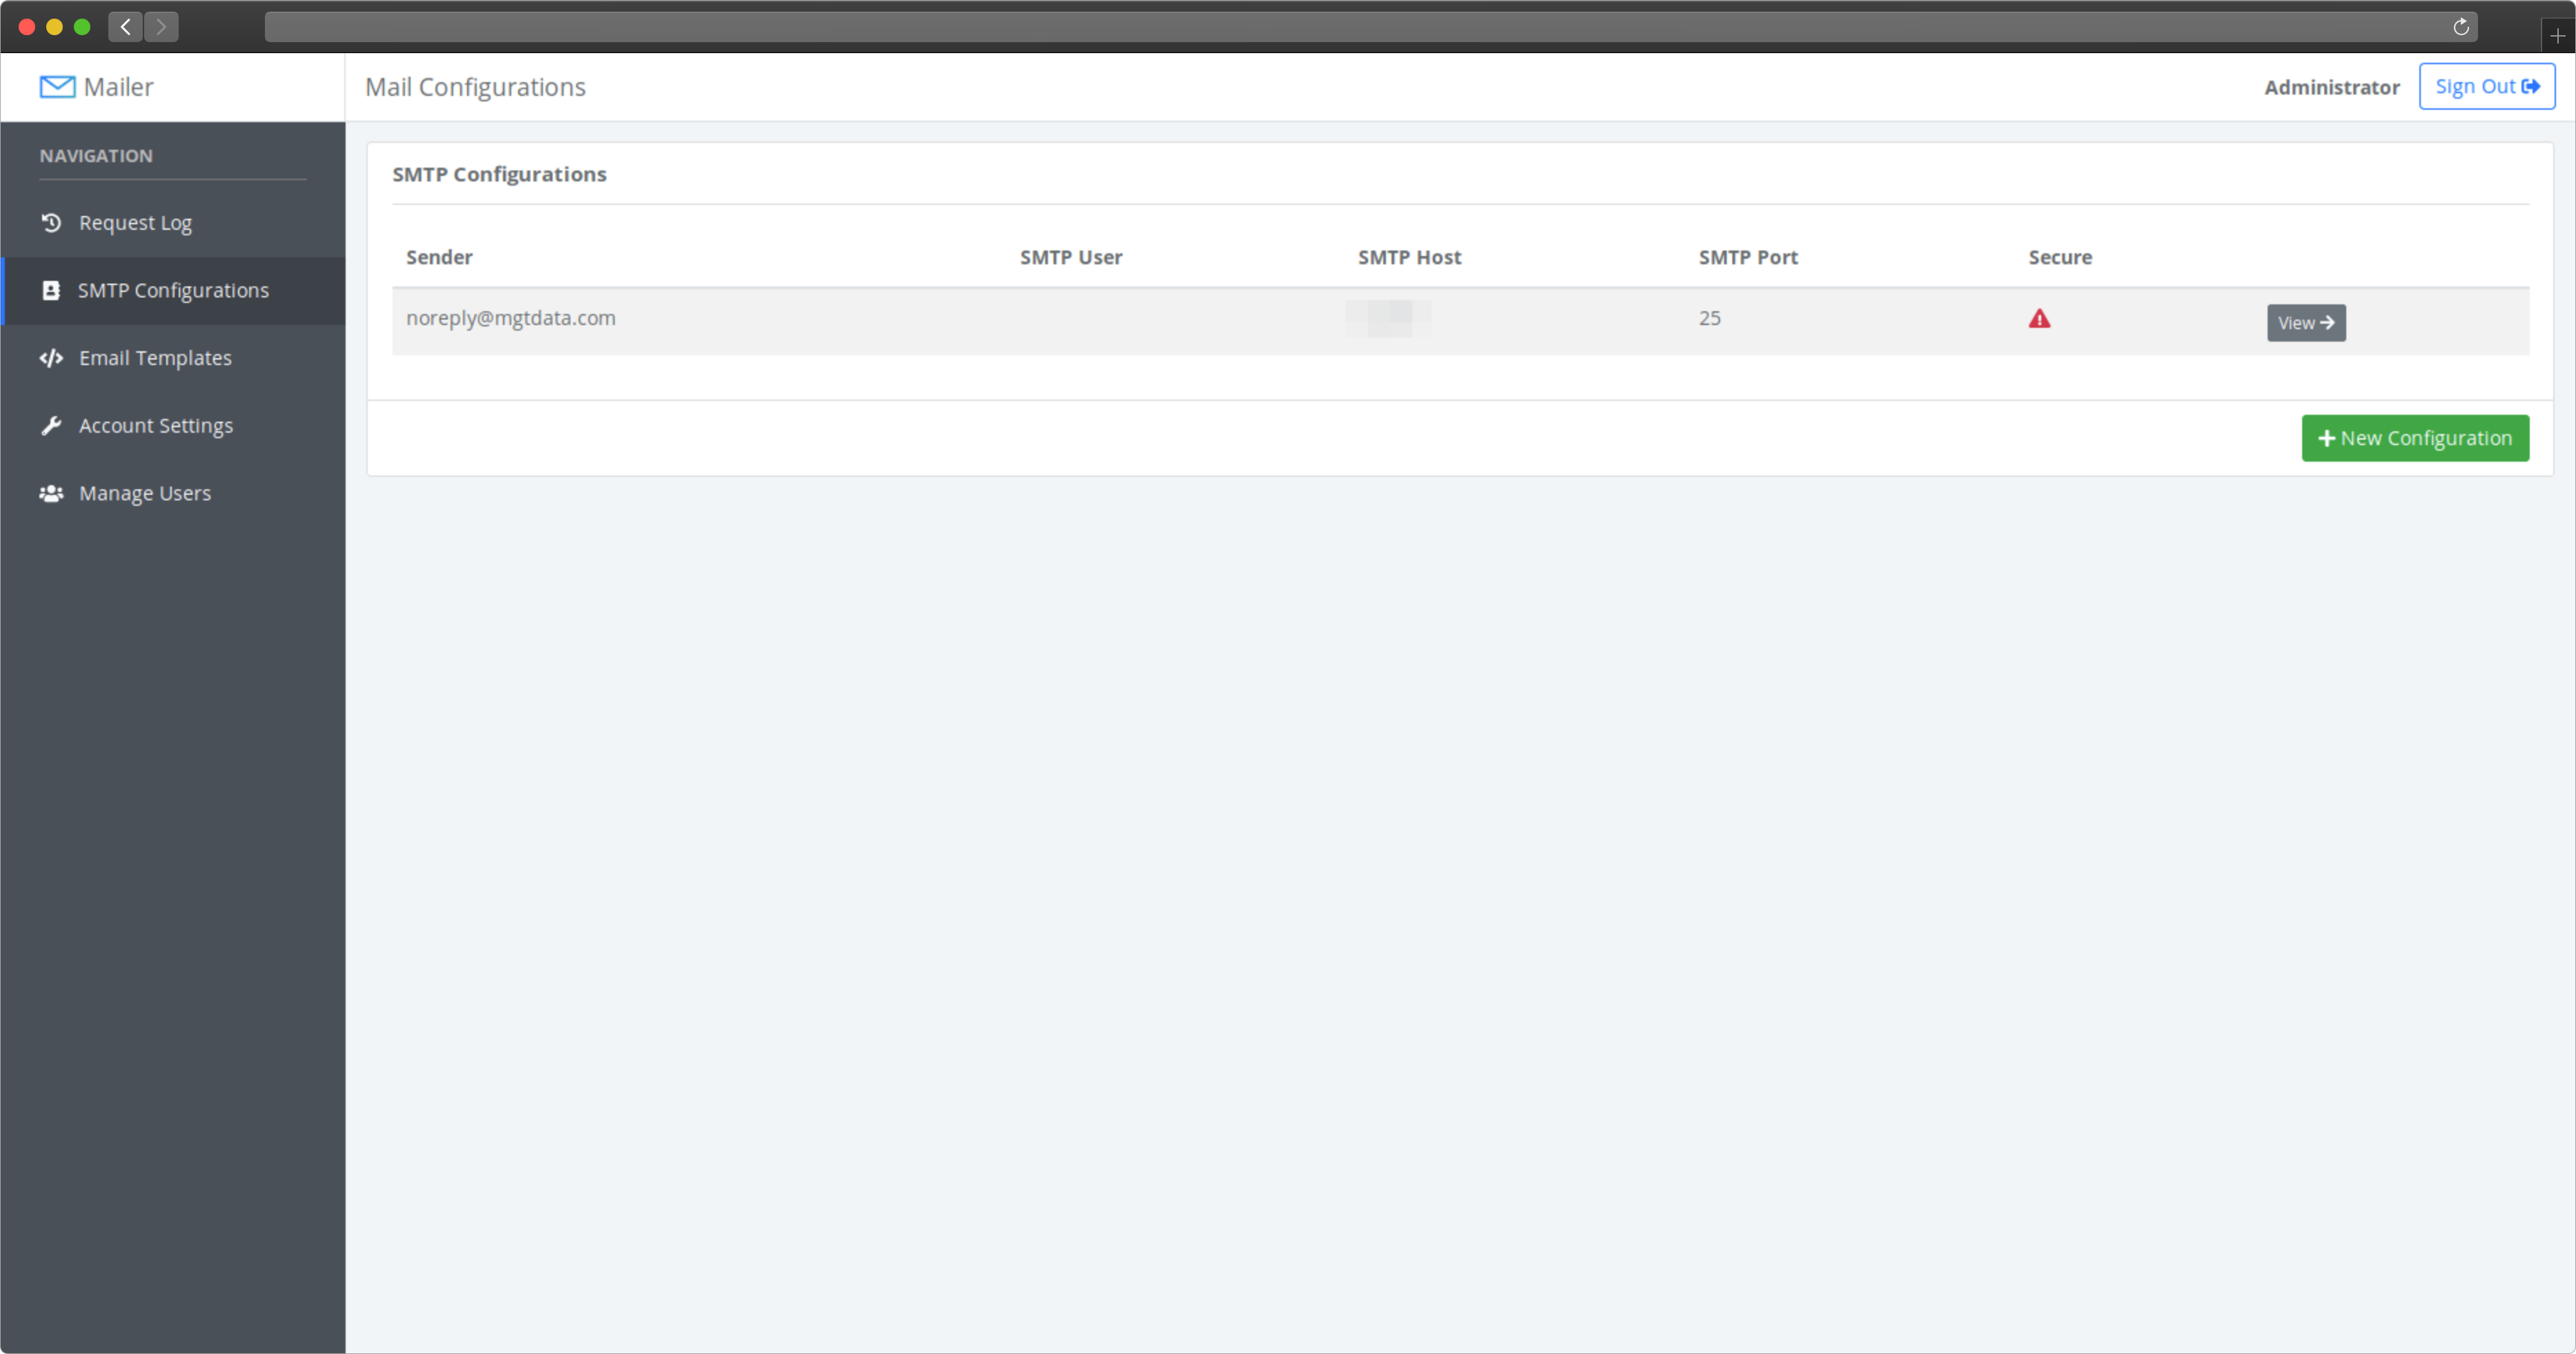
Before you can send emails through Mailer, you need to set up at least one SMTP configuration. The main SMTP configuration page shows a list of all configurations. To add a new one, click the green “New Configuration” button at the bottom right corner under the table.
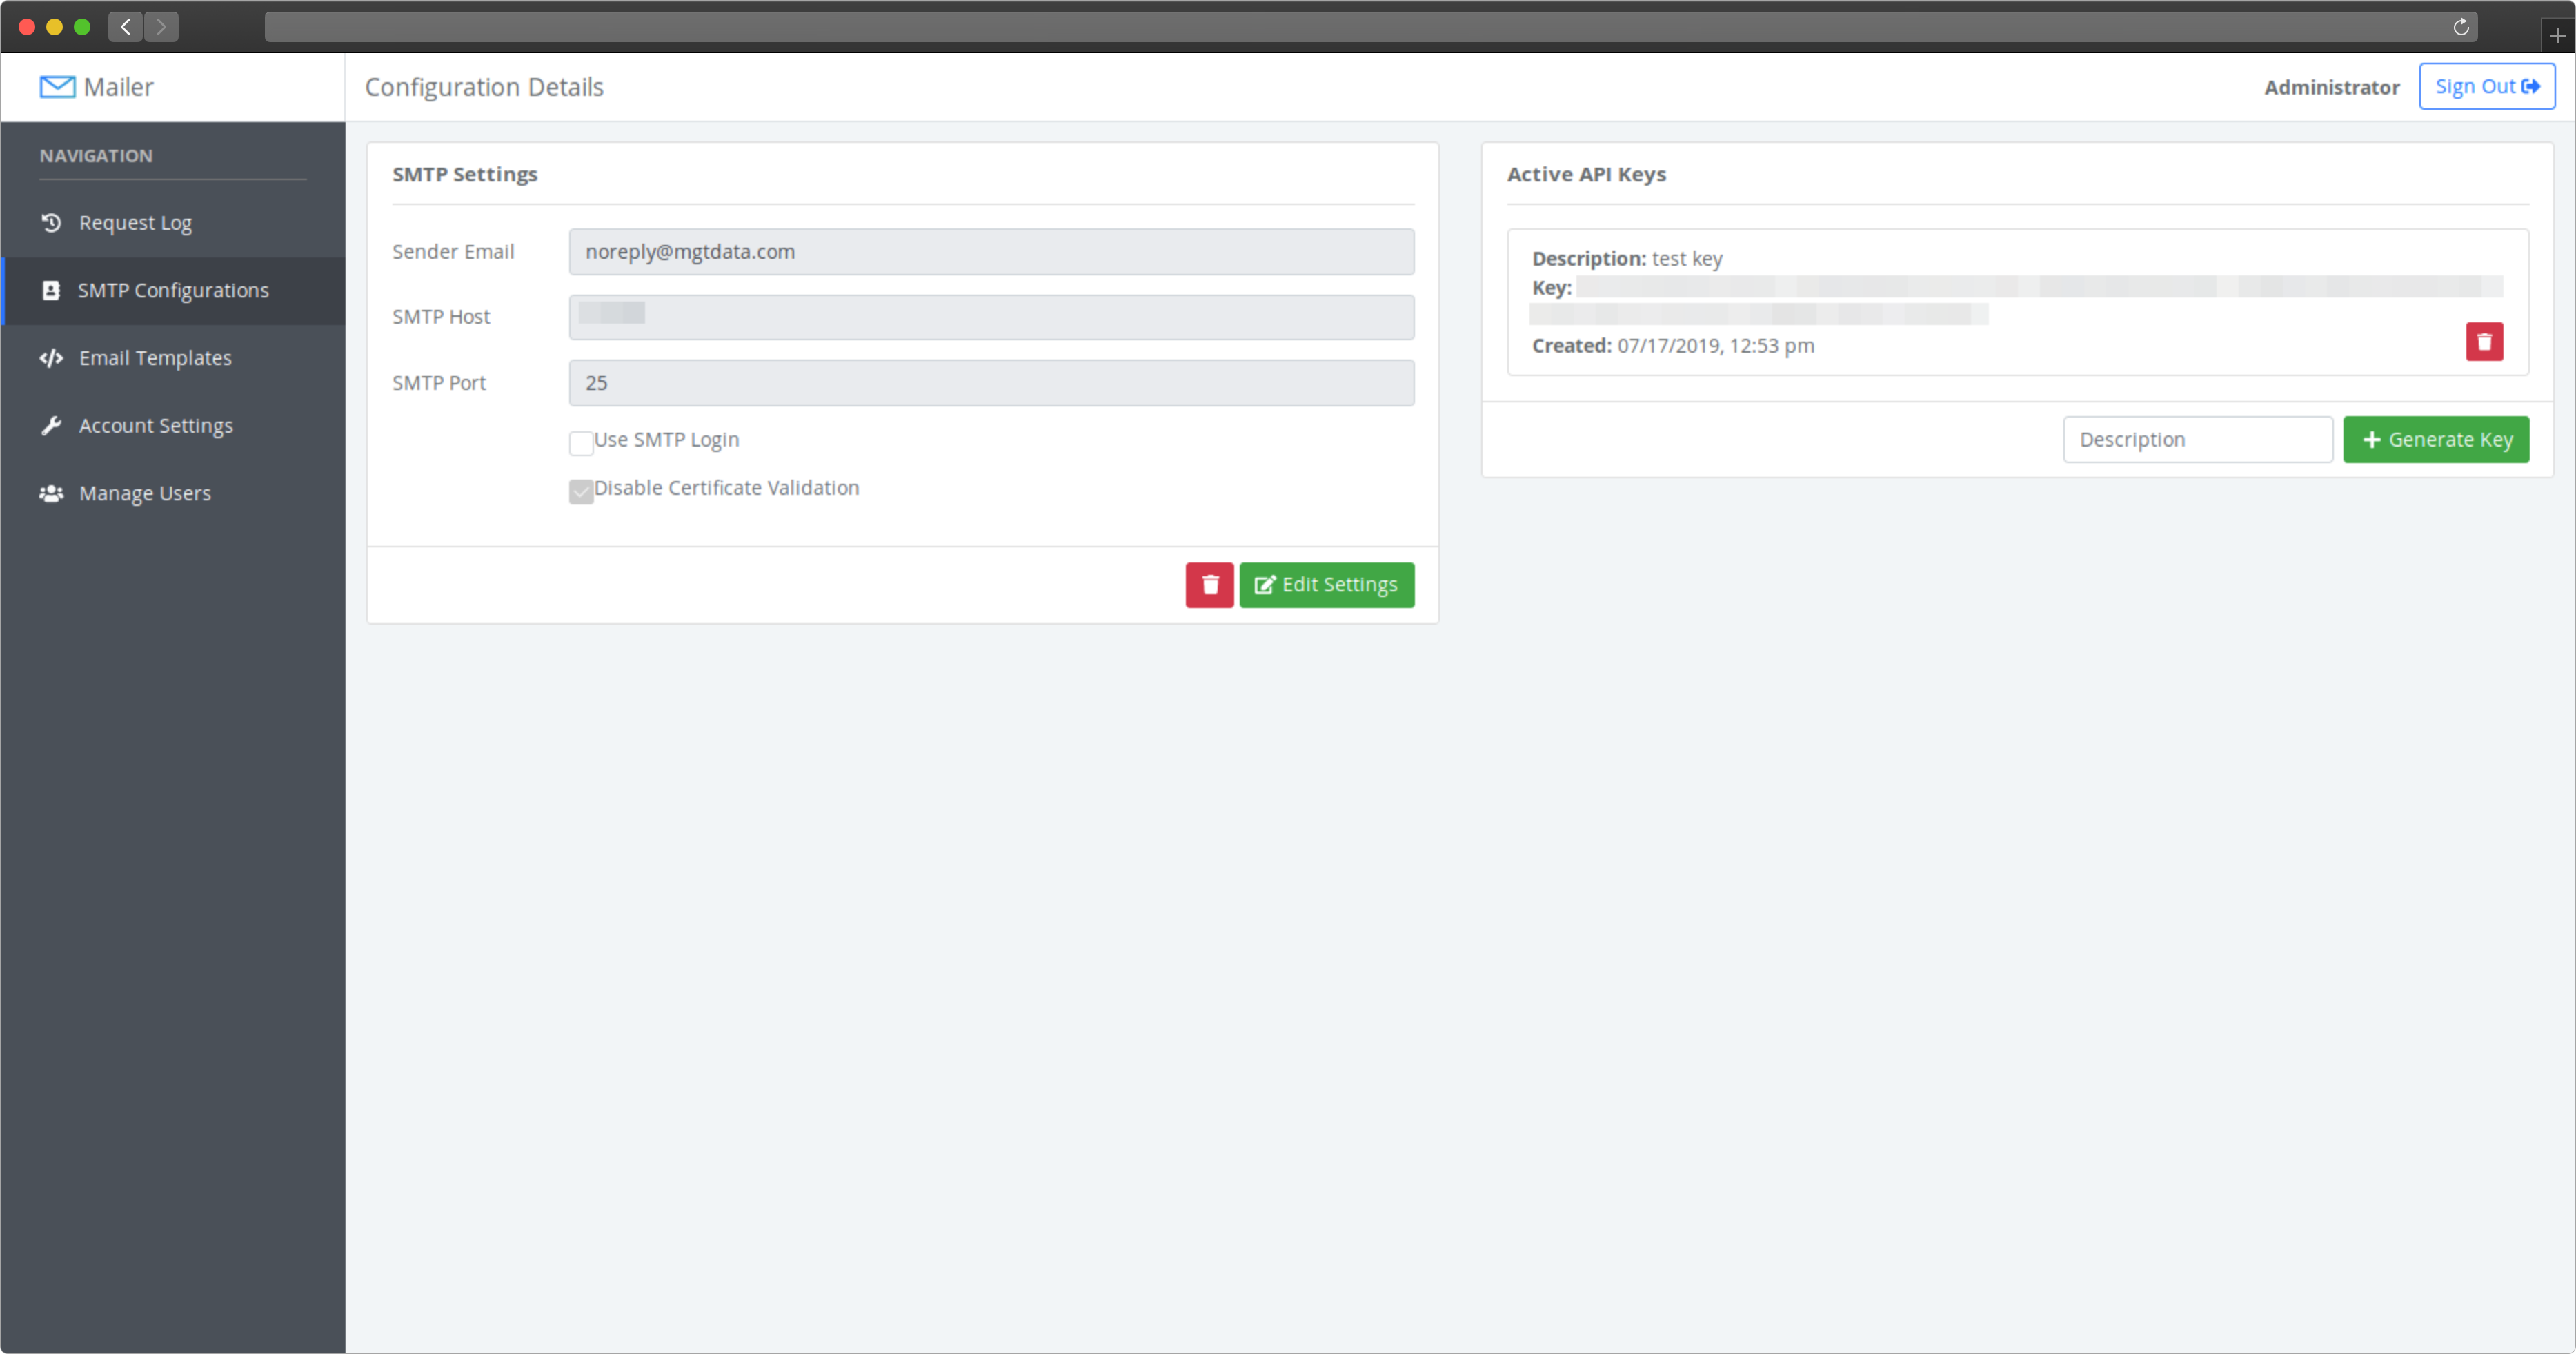
To modify an SMTP configuration, click on the grey “View” button on that configuration’s row. You will see the following screen, where you can modify the configuration details and manage the active access keys for that SMTP configuration.
Each application that sends emails through Mailer will need to send an access key as part of their request data. The access key authorizes the application and tells Mailer which SMTP configuration to use when it sends the email. This page is where access keys are created and revoked.
Email Templates
One way to send emails is using templates. Each template can have a text and/or HTML version. To create a new template, use the green “New Template” button. You will need to enter a template name, which will be what applications use to identify which template to use when rendering the email content.
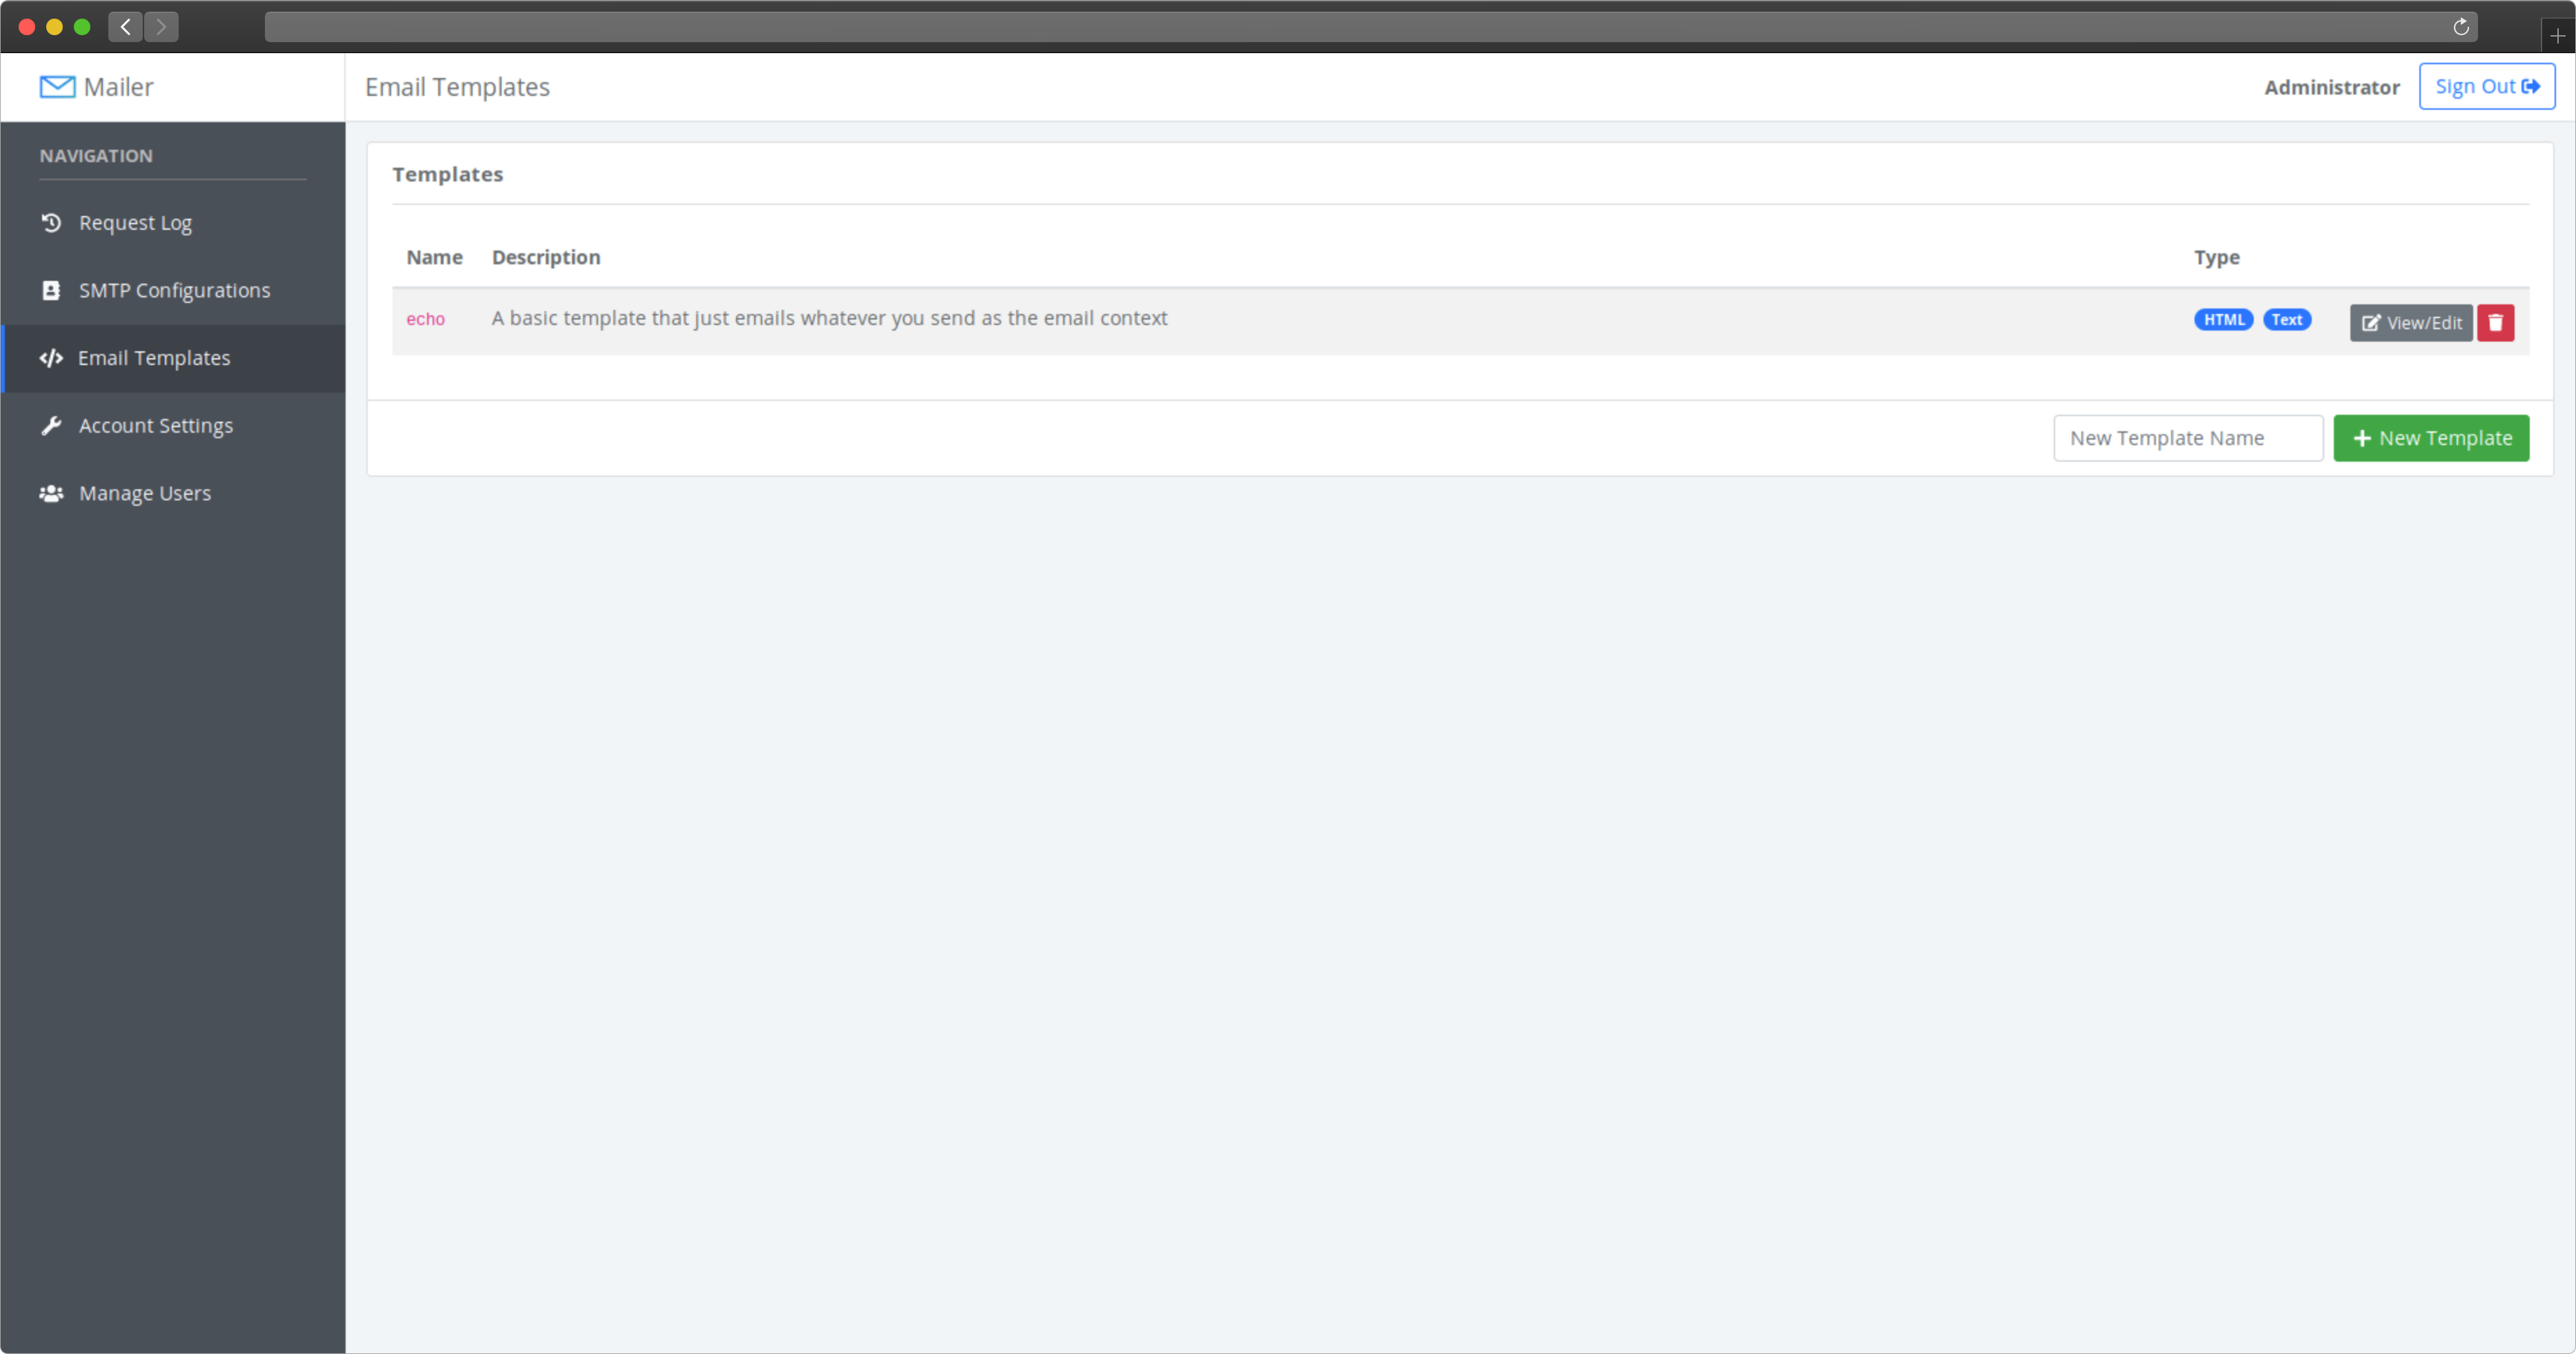
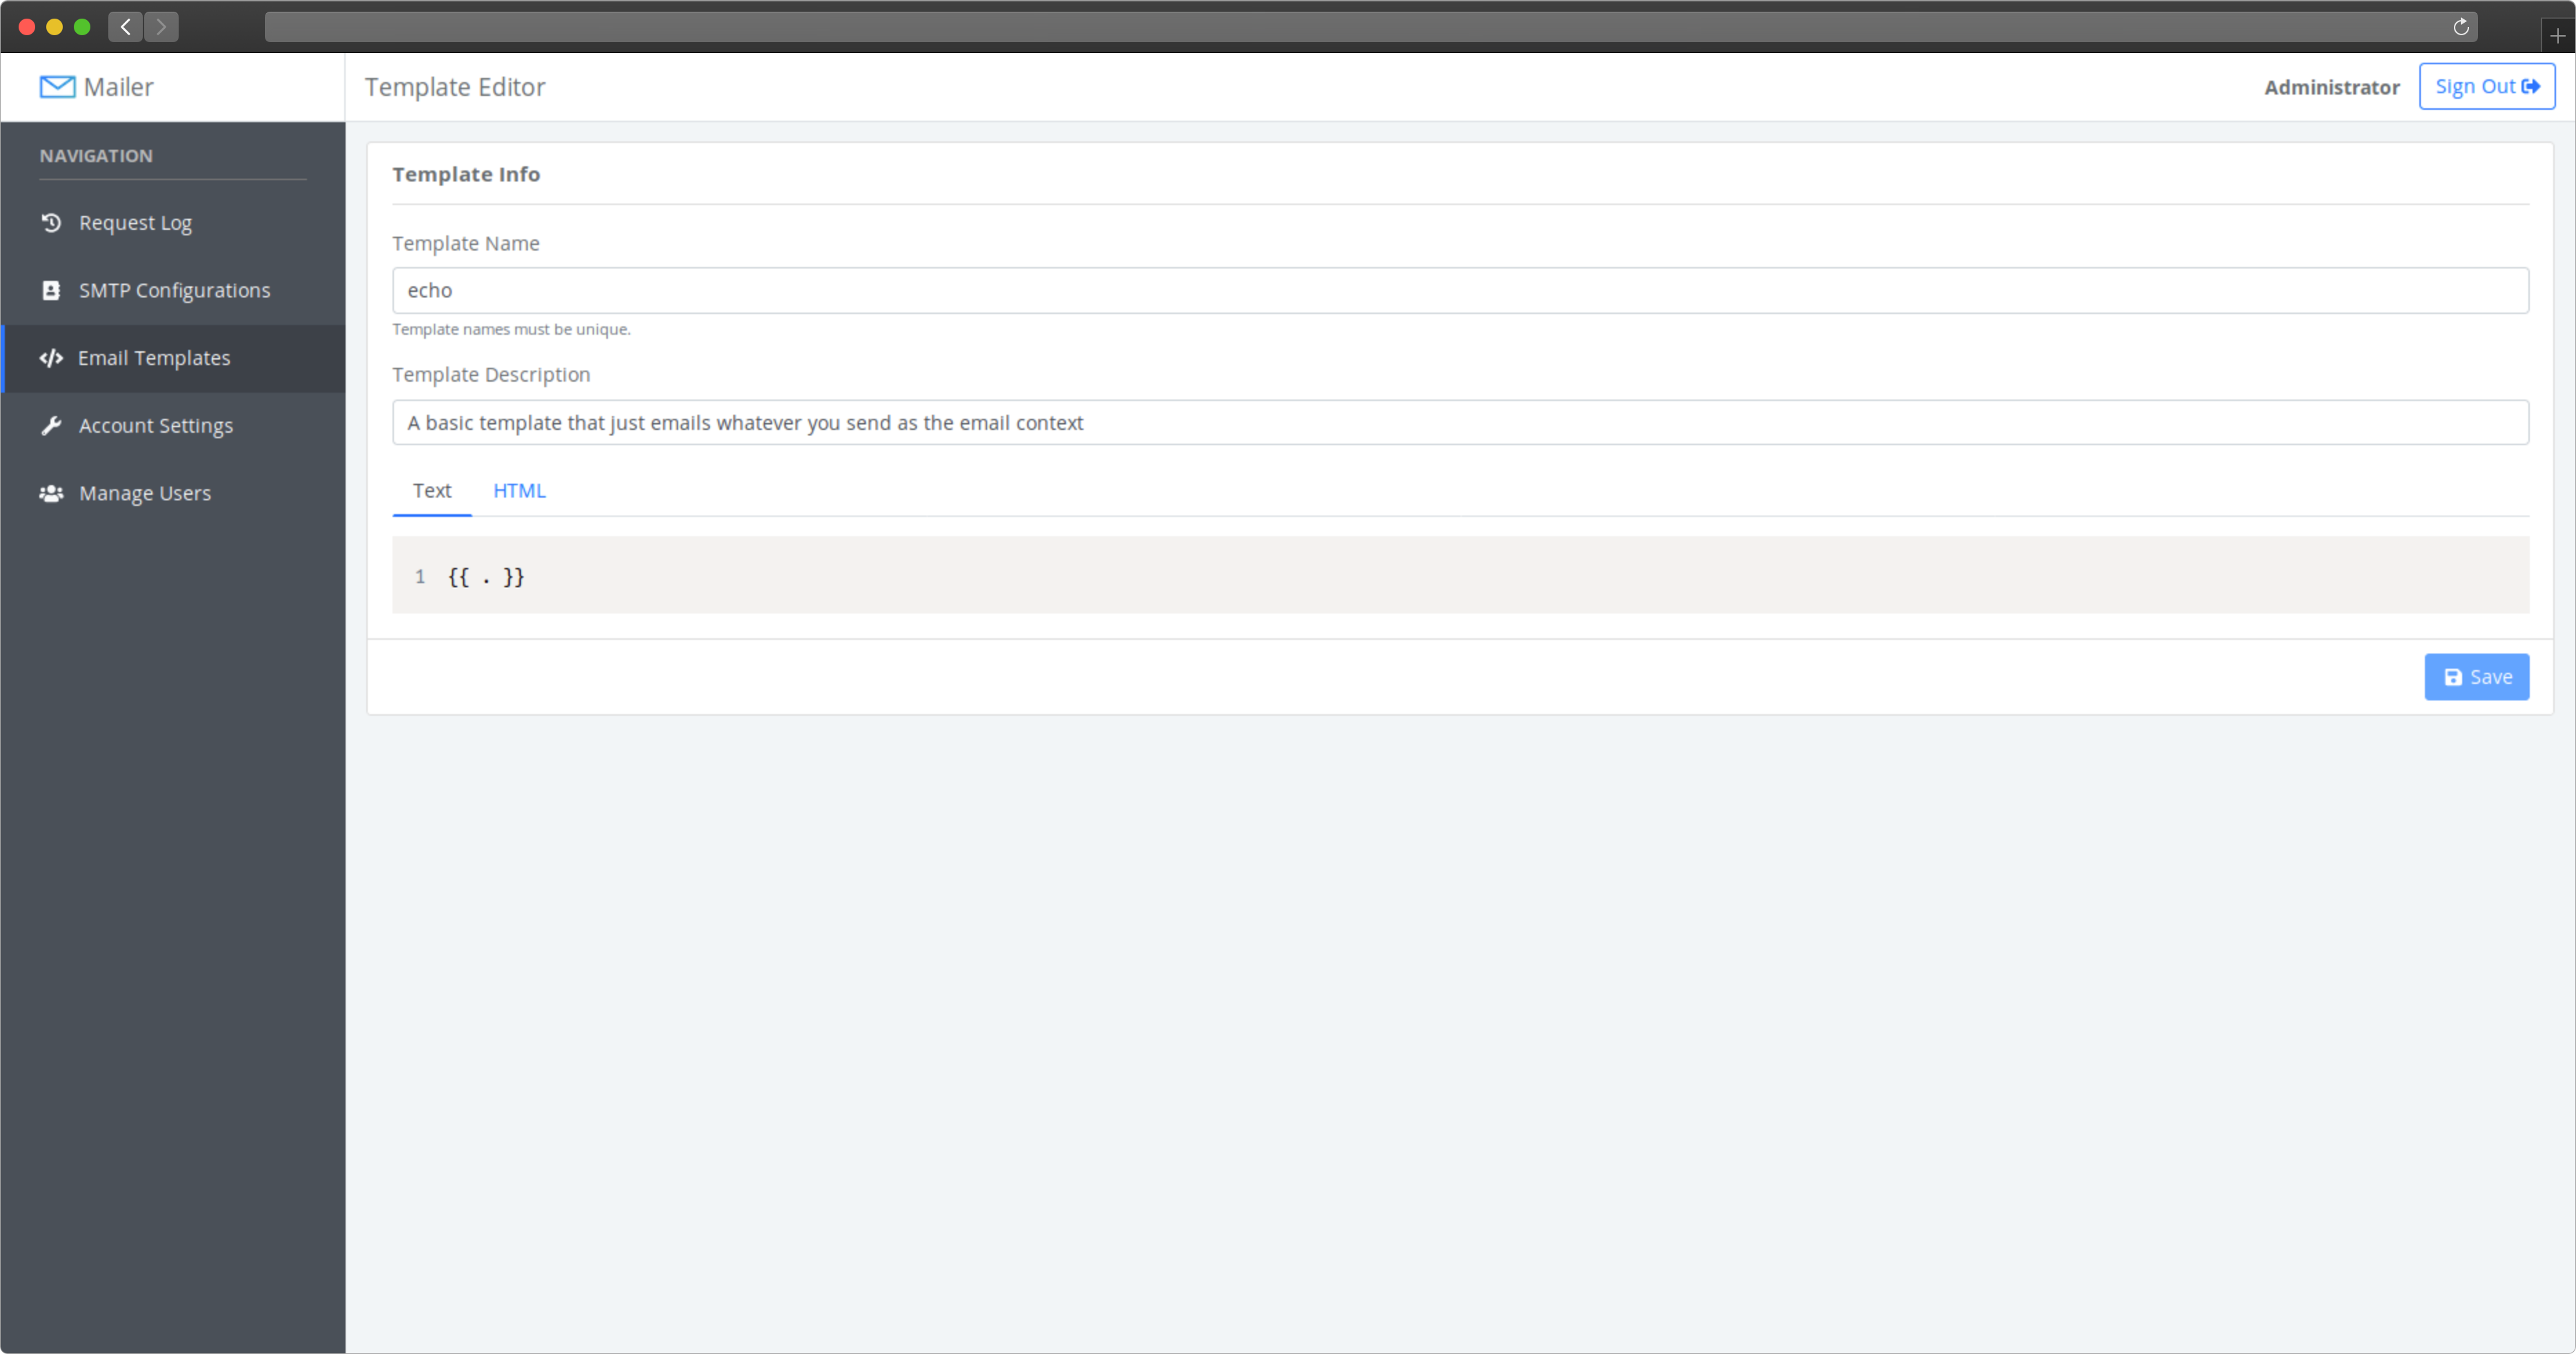
To modify a template, click on the “View/Edit” button on that template’s row in the table. This will open a page that allows you to add a description, change the template name, and create the text and HTML contents of the email body. To switch between the text and HTML editor, use the tabs just above the editor.
The templates use Go’s templating syntax, which is explained in detail here.
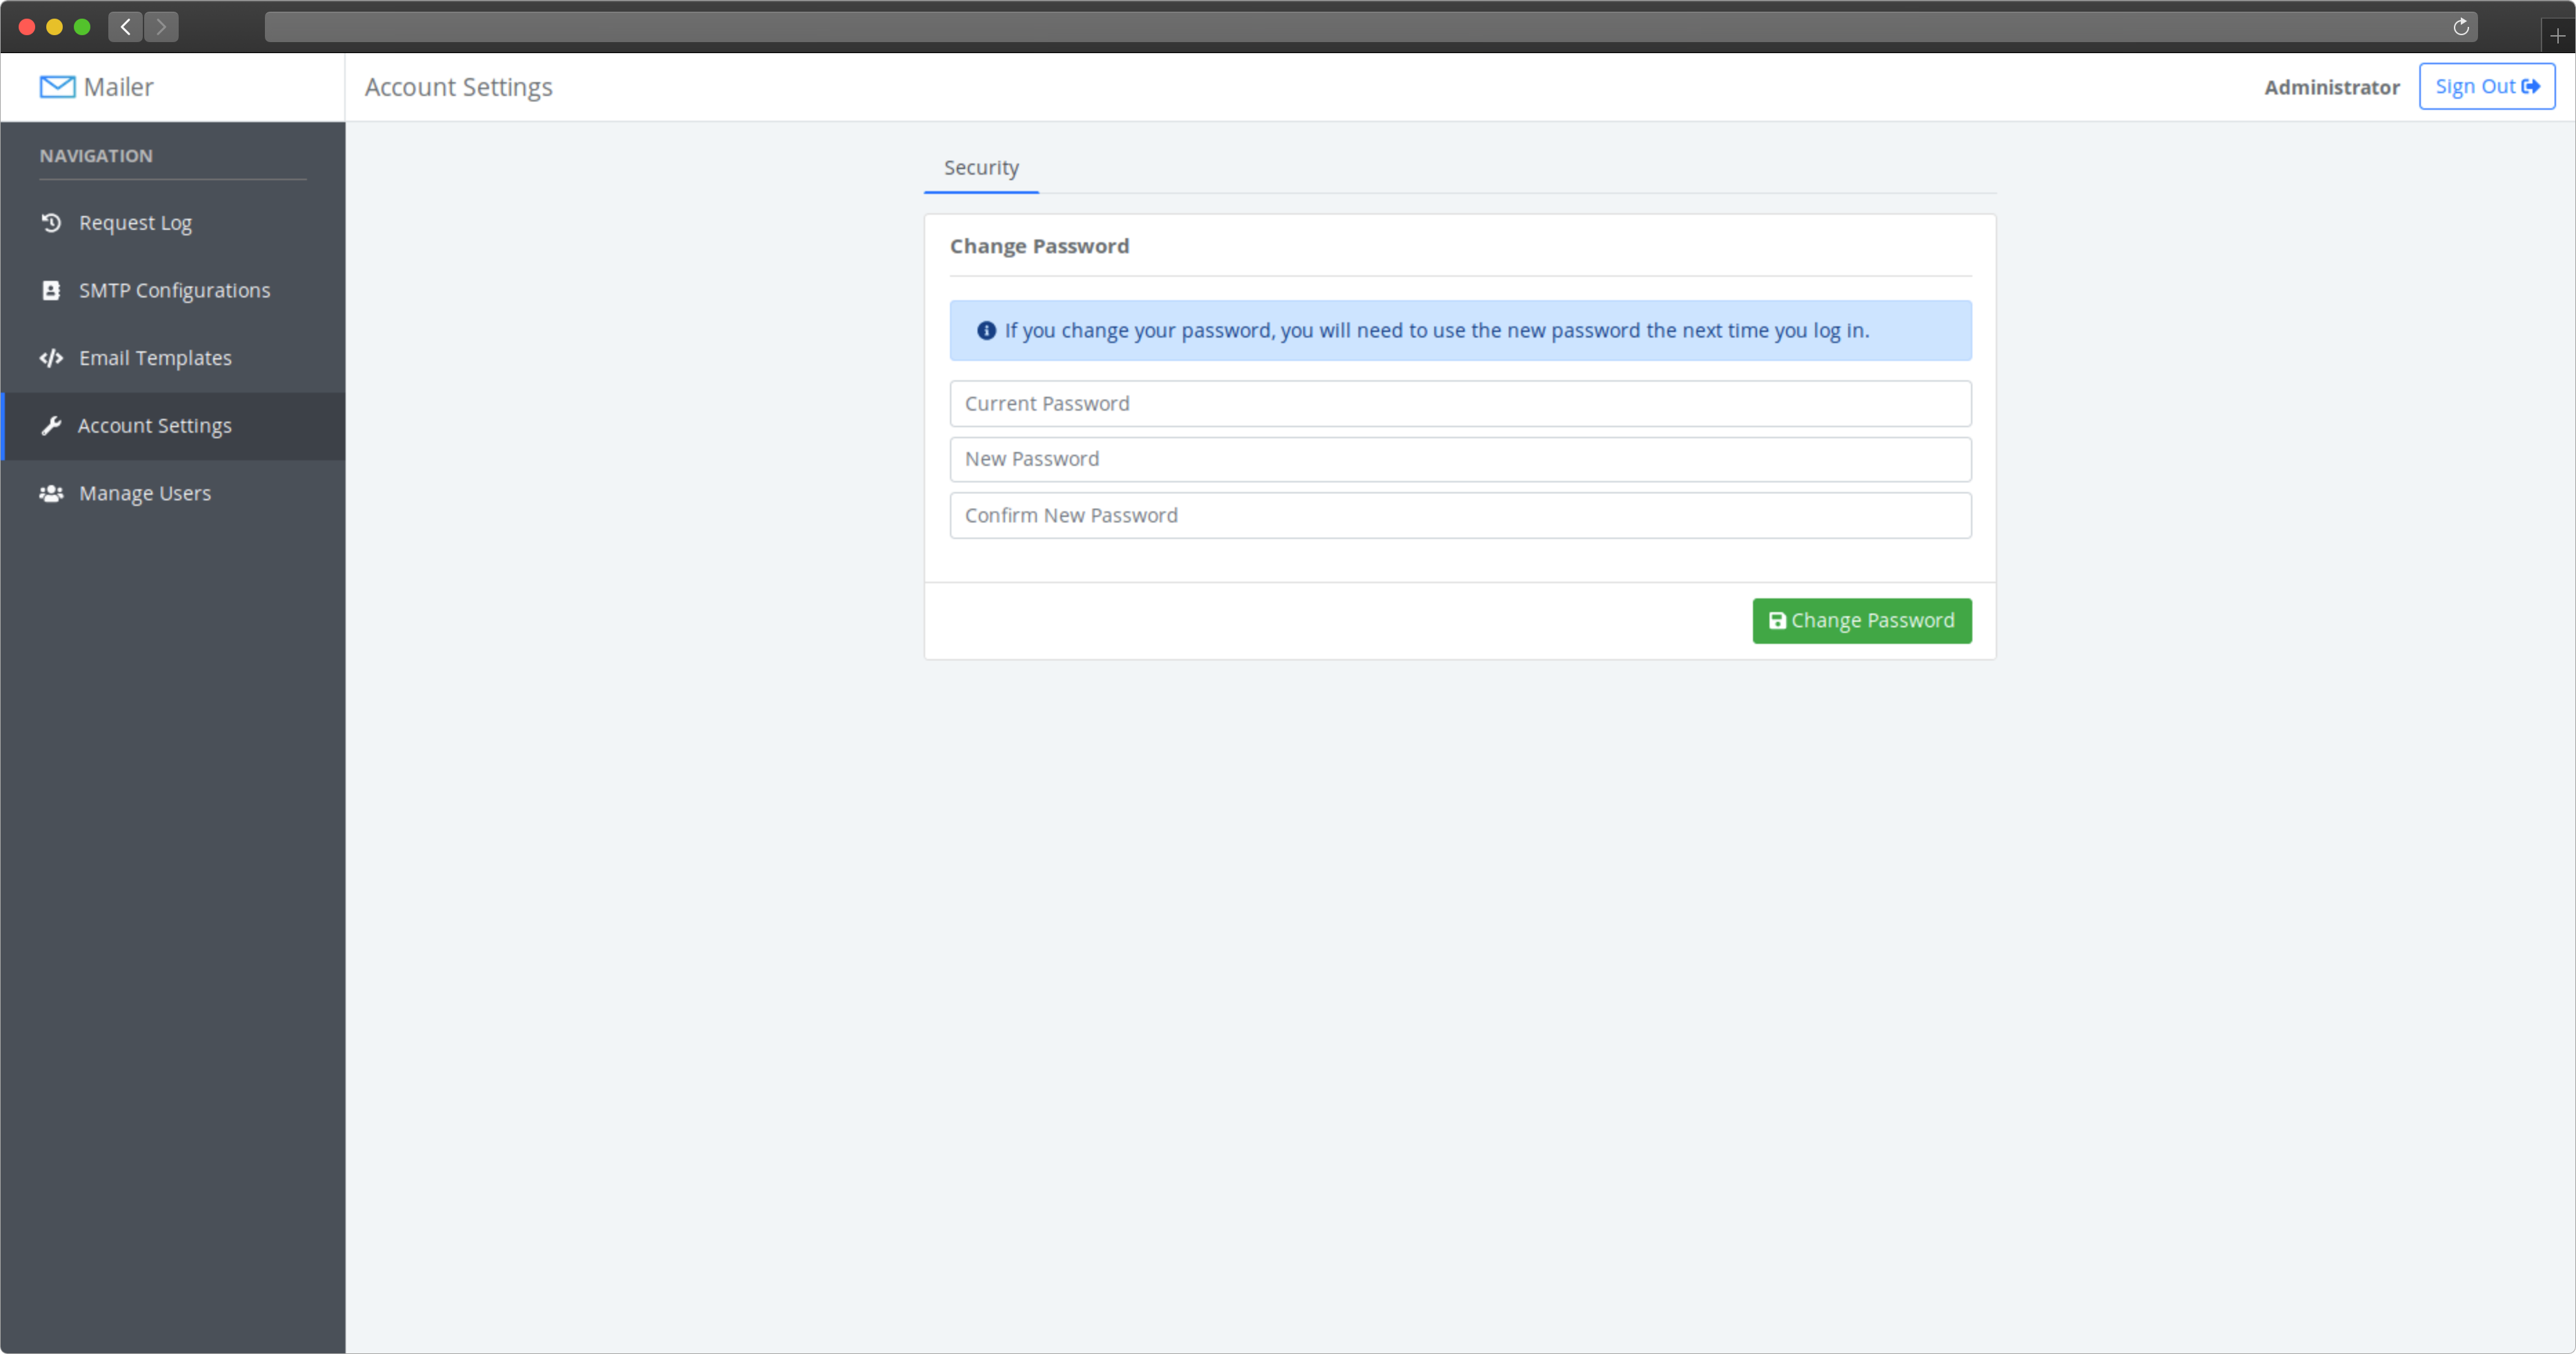
Account Settings
The account settings page is where users can change their password.
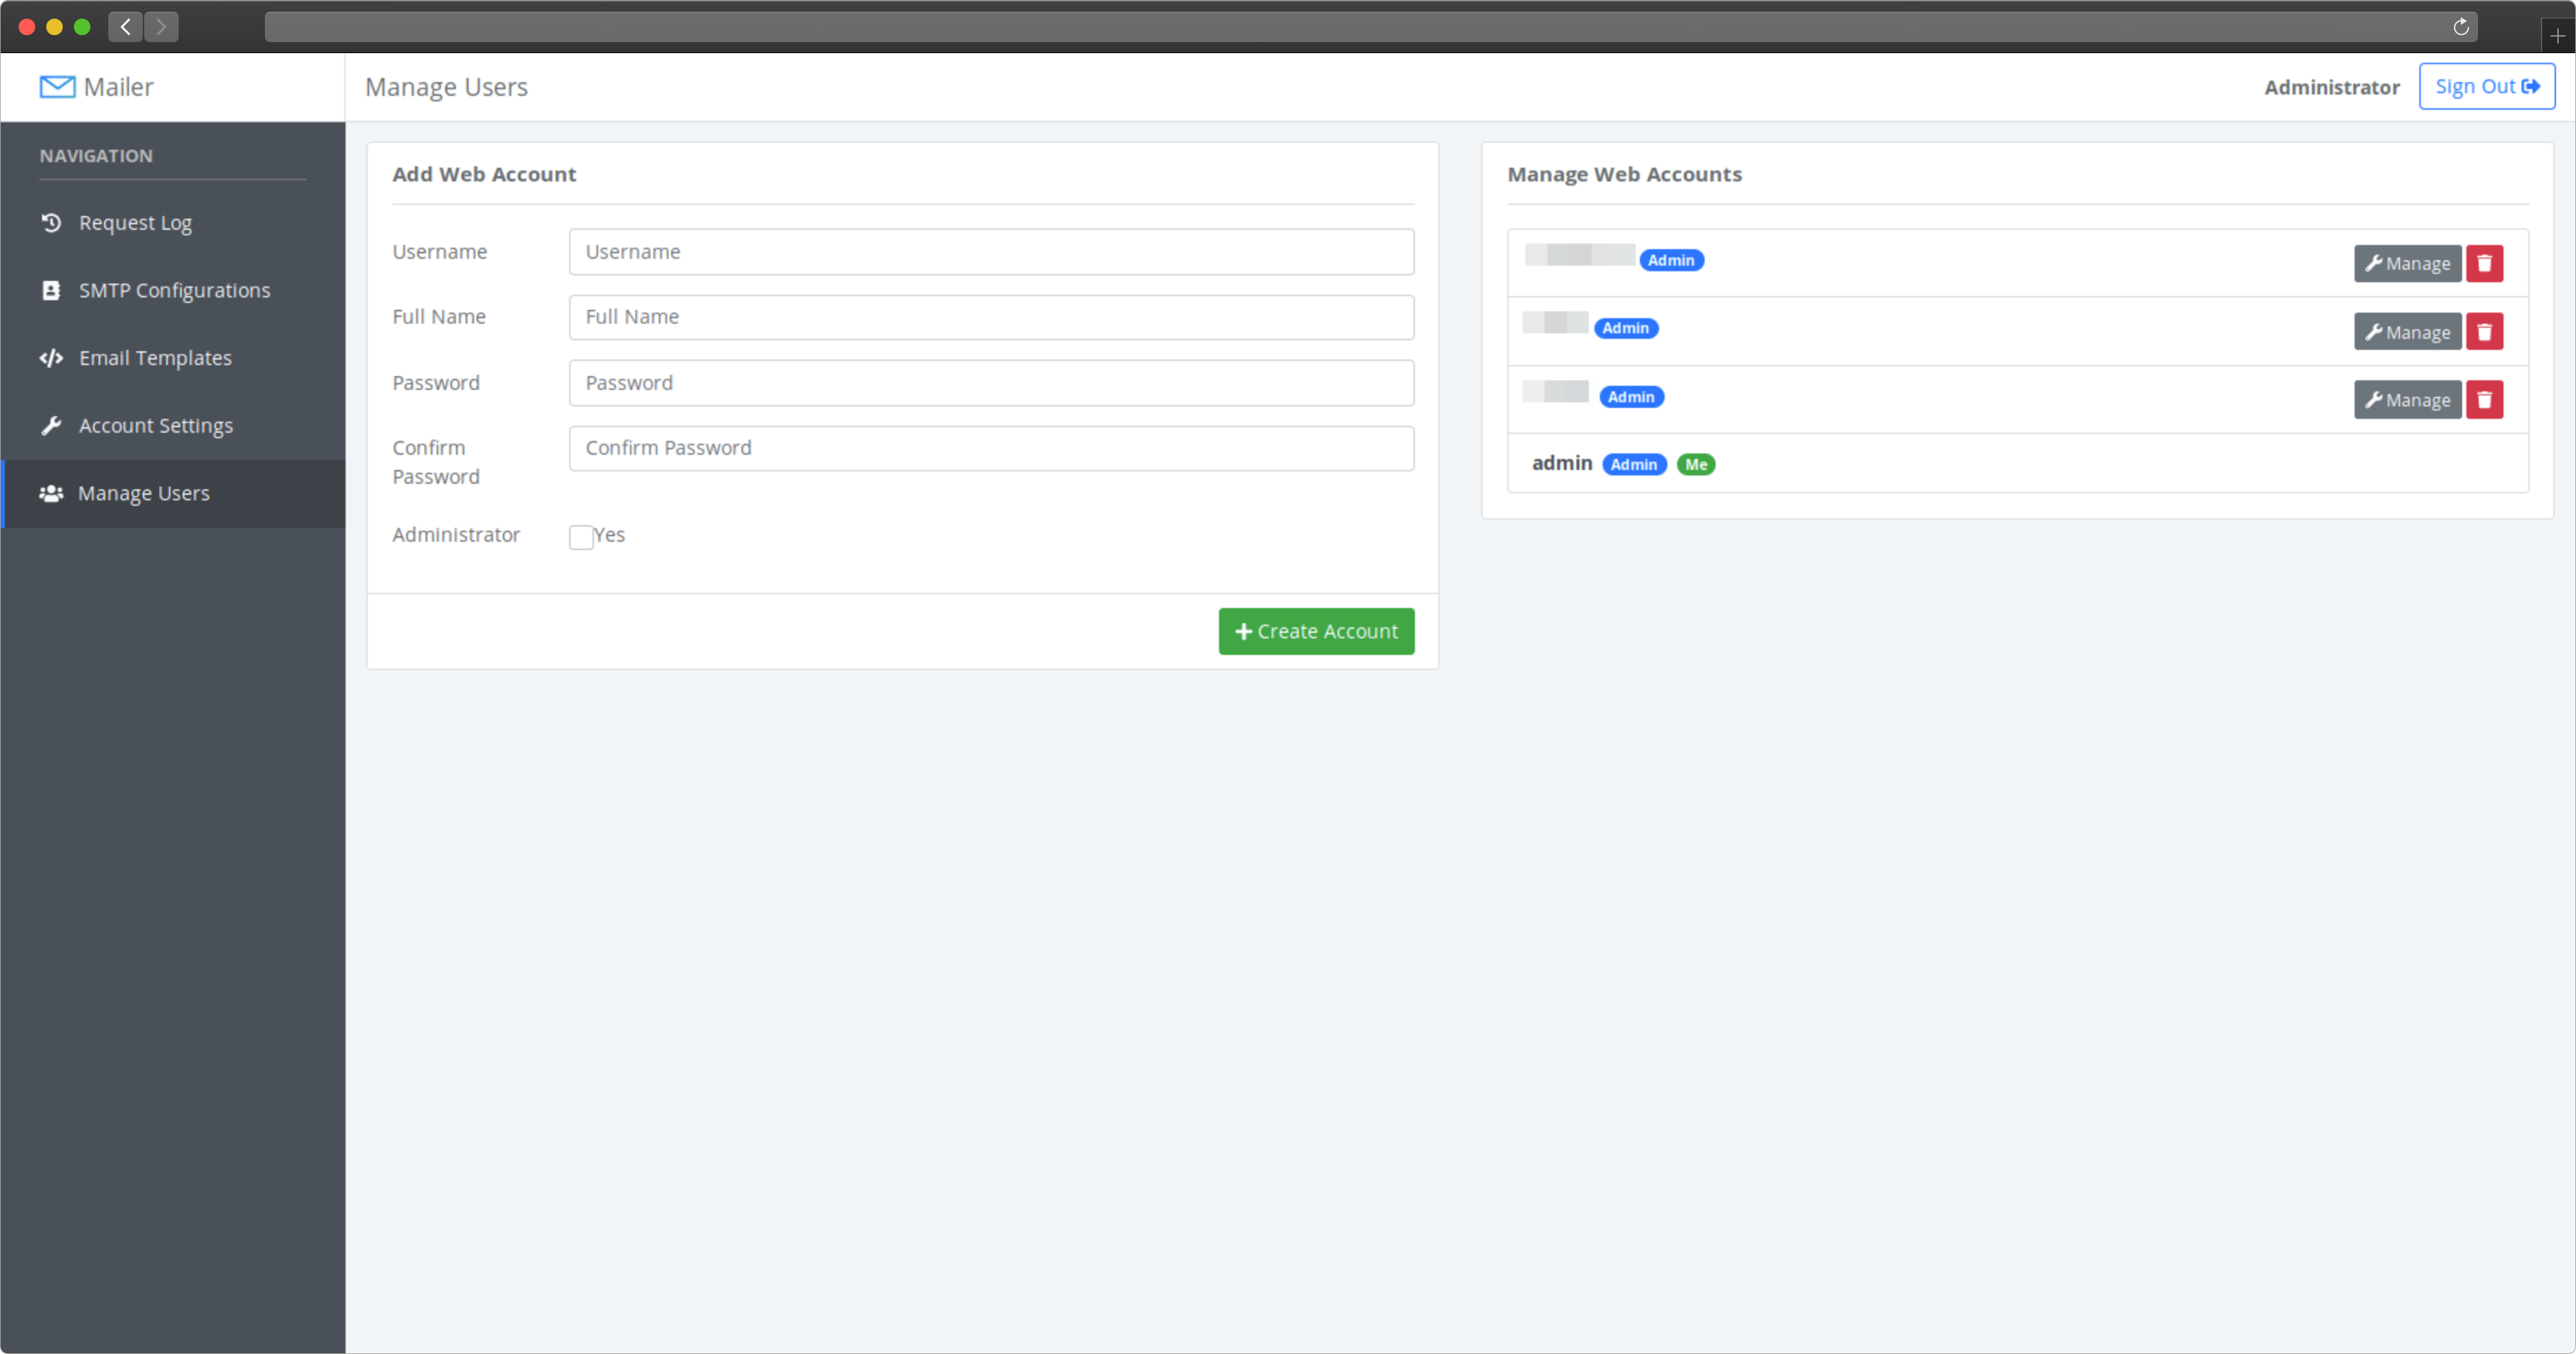
User Management
Administrators can use the user management page to add, remove, or modify web accounts. Non-administrator users can only view the email log and manage email templates. They don’t have access to view or modify the SMTP configurations or other web user’s accounts.